At LuxSol, we believe that creating your dream outdoor space should be as enjoyable as using it. That’s why we’ve designed our pergolas to be easy to assemble, much like an IKEA flat pack. With a bit of concentration and no corners cut, you can set up your LuxSol pergola in no time. Let’s dive into our step-by-step guide to help you through the process.

Step-by-Step Installation Guide
Before you do anything, please have a good read through our base requirements information for each pergola. It's essential these are followed to ensure smooth installation and optimal performance of our pergolas. More here.
1. Gather Your Tools and Equipment:
Before you begin, make sure you have the following tools and equipment ready:
- Ladder
- Pencil
- Tape Measure (5m)
- Spirit Level
- Electric Drill
- Rubber Mallet
- M10/13 Open Wrench (supplied)
- 5mm Hexagon Wrench (supplied)
- For Porcelain Flags: Specific drill bits designed for porcelain (if applicable)
- For Decking: Alternative fixings suitable for timber or composite decks (if applicable)
2. Prepare Your Site:
Ensure your installation site meets the necessary base requirements. This step is crucial for the stability and longevity of your pergola. Check our Base Requirements sheet for detailed information.
3. Watch the Assembly Video:
For a visual guide, check out our helpful assembly video. It offers a quick and straightforward overview of the installation process, ensuring you’re familiar with each step before you start.
4. Follow the Hard Copy Instructions:
Each pergola comes with a detailed set of printed instructions. Follow them precisely to ensure a smooth assembly process.
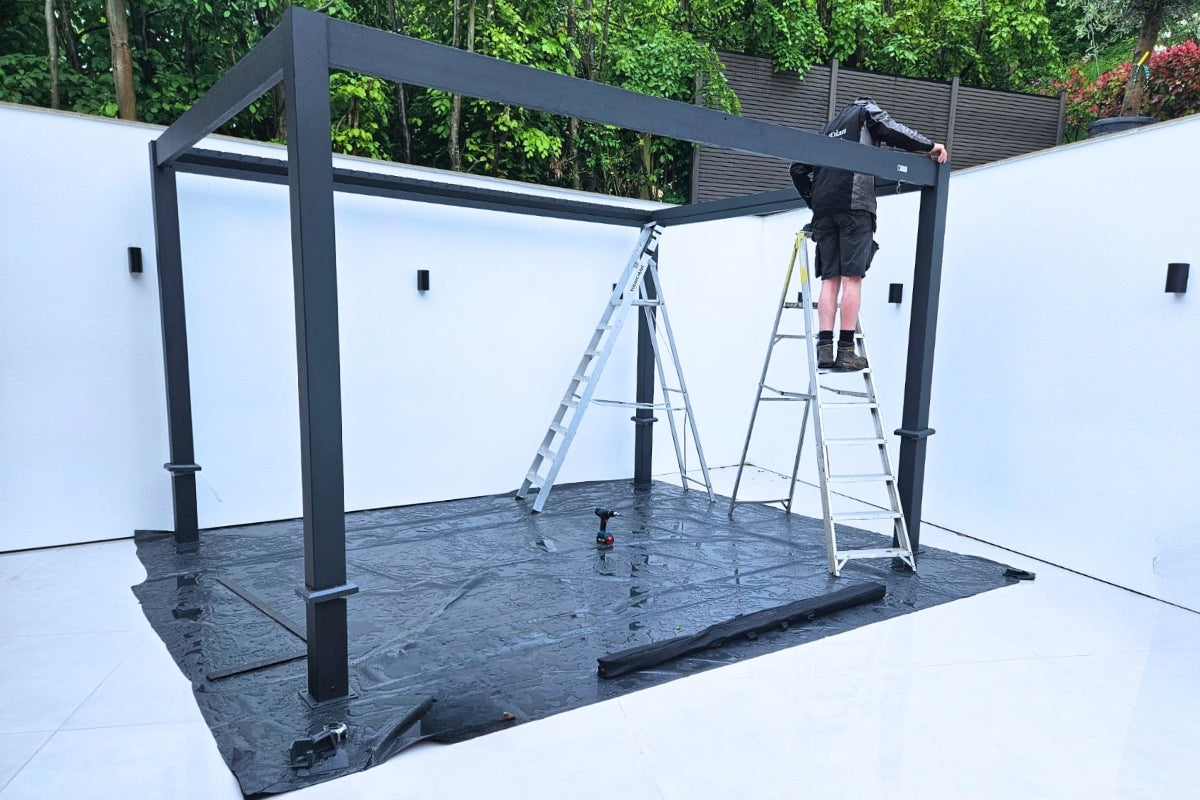
5. Assembling the Pergola:
- Connect the Beams: Start by connecting the beams.
- Attach the Louvres: Raise the beams and attach the louvre mechanism. Secure the louvres in their slots by clicking them into place.
- Secure Your Pergola: Bolt it to the ground for stability and security. Our pergolas use fixings through holes in the post footplates, covered neatly with post caps for a clean, finished look without visible bolts.
- Porcelain Flags: Porcelain flags are much harder than stone and require different fixings than those provided. Use specific drill bits to allow fixings to pass through porcelain.
- Decking: The fixings provided with the pergola are specifically designed for stone flags or concrete patios, not decking. You'll need alternative fixings for timber and composite decking installations.
Tips for a Successful Installation
- Take Your Time: Rushing through the installation can lead to mistakes. Take your time to ensure each step is completed accurately.
- Use the Right Tools: Using the correct tools, especially those supplied, will make the process smoother and more efficient.
- Follow the Instructions: Adhering closely to the provided instructions will help avoid common pitfalls and ensure your pergola is assembled correctly.
- Read Our 'Self Installation - How To Guide': Here

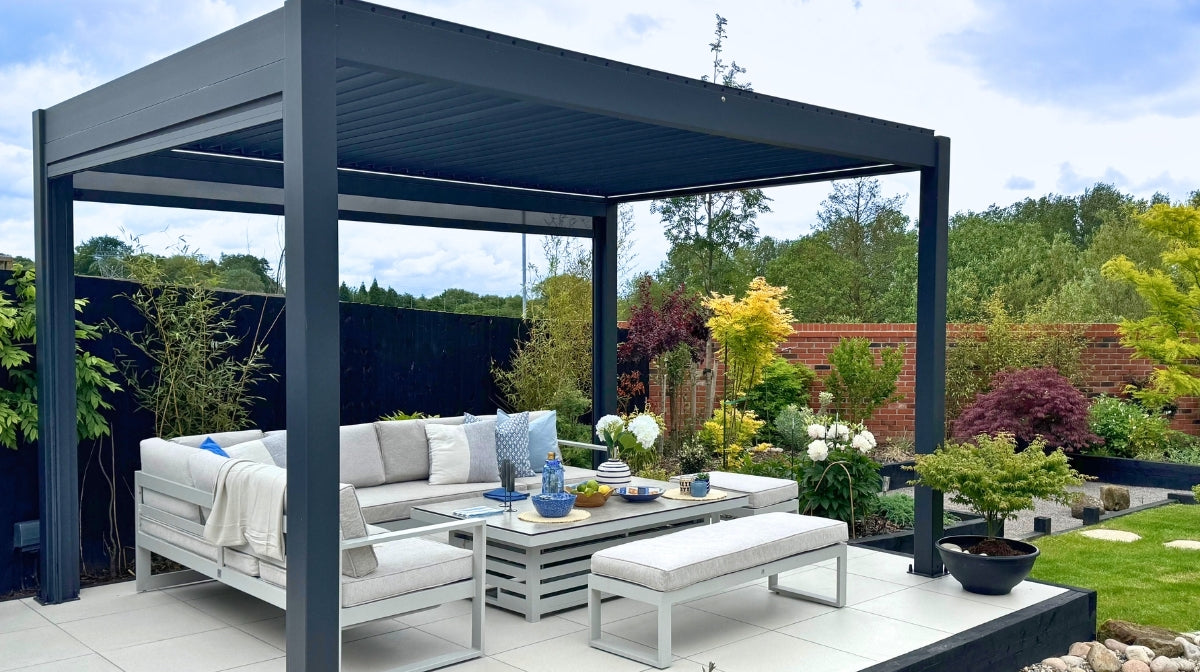
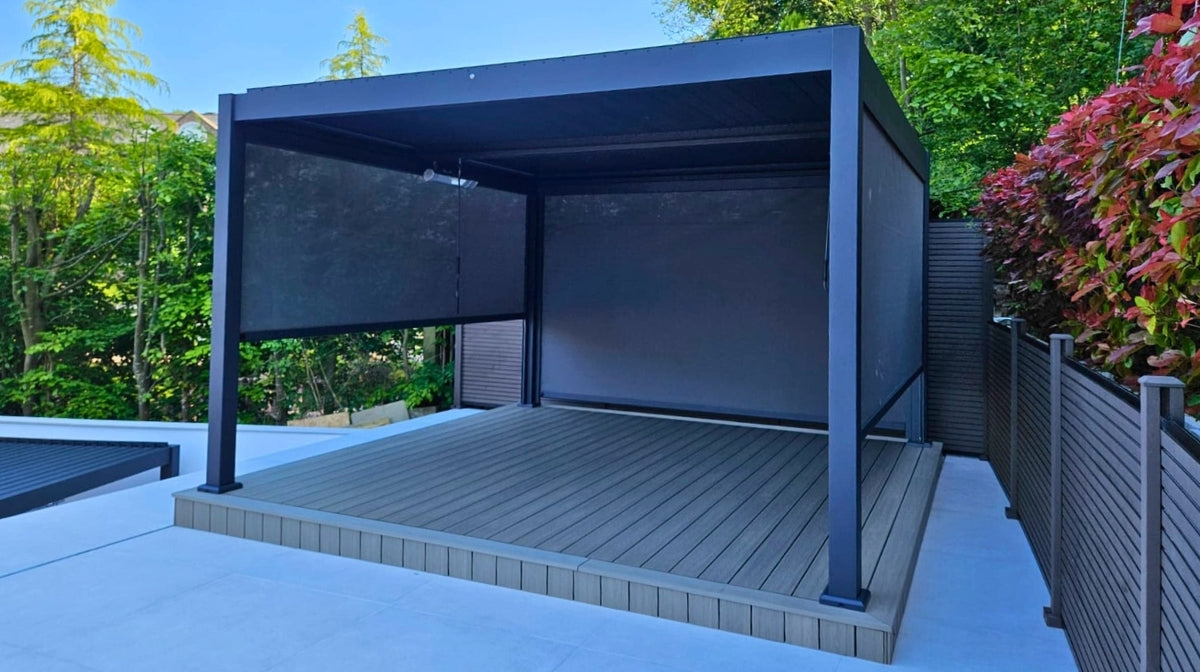
Enjoying Your New Outdoor Space
Once your LuxSol pergola is assembled, you can immediately start enjoying your new outdoor haven. Whether it’s for relaxing in the shade, hosting family gatherings, or providing a safe play area for children, your pergola will be a versatile addition to your garden.
For further assistance, our team is always here to help. Don’t hesitate to reach out with any questions or concerns during your installation process at 01270 346002 or support@luxsol.co.uk